¶ Waterjet pump maintenance
Here we will understand how to open and make maintenance to waterjet pump.
Maintenance is required every 250 working hours of the waterjet. Or when it does not cut, no more water arrives (and there are no external leaks), there is a problem with the pump.
¶ Disassembly
¶ Remove main pipe
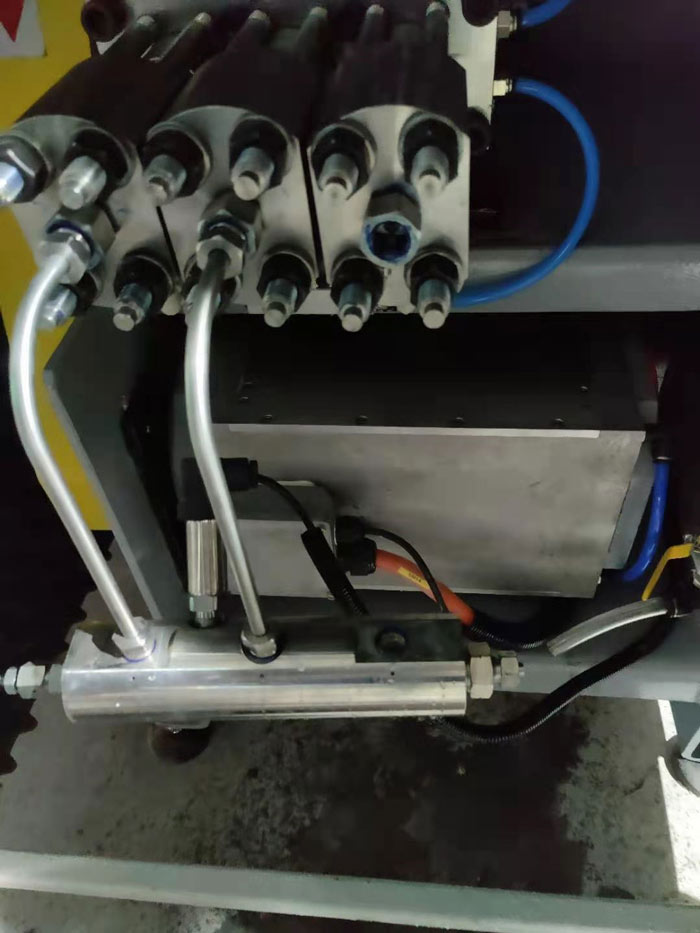
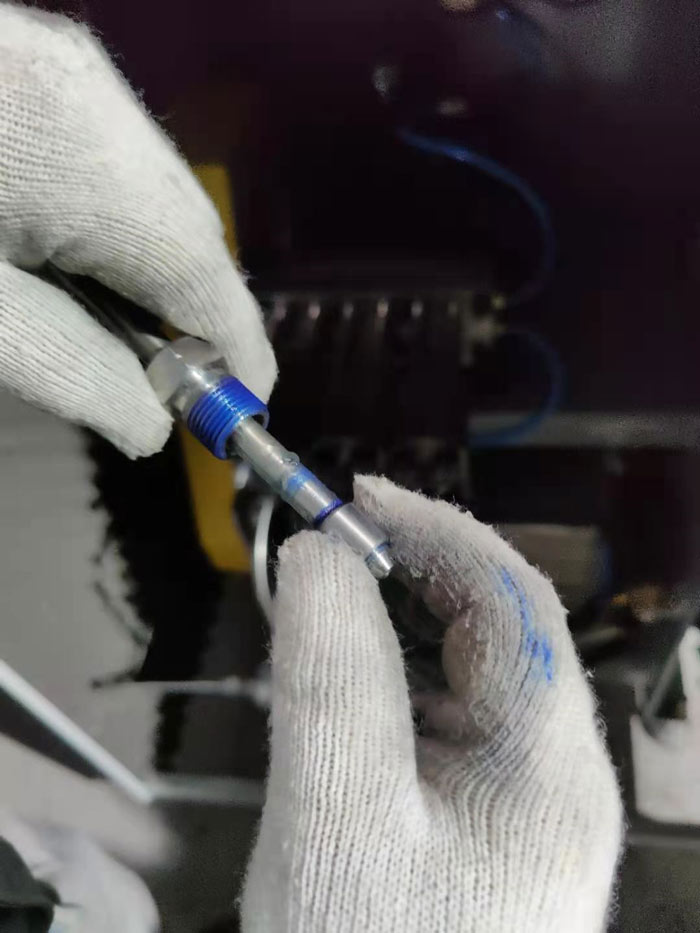
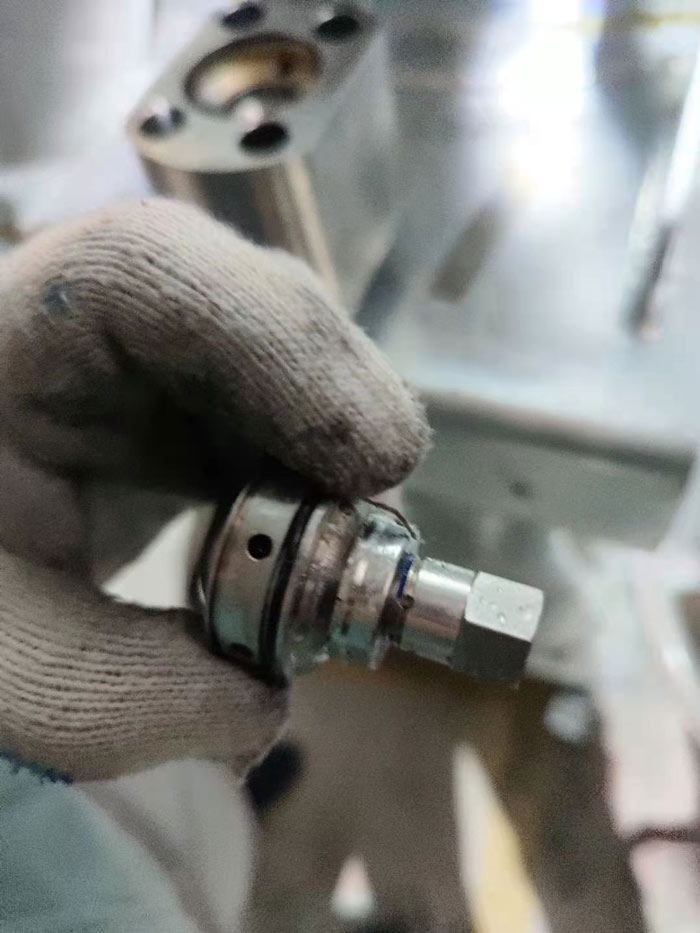
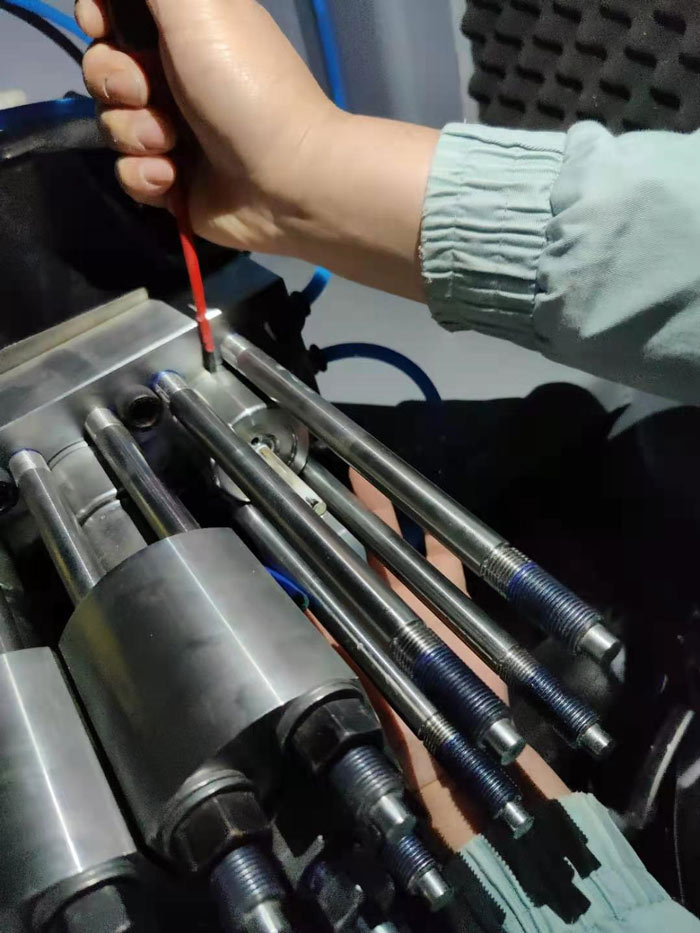
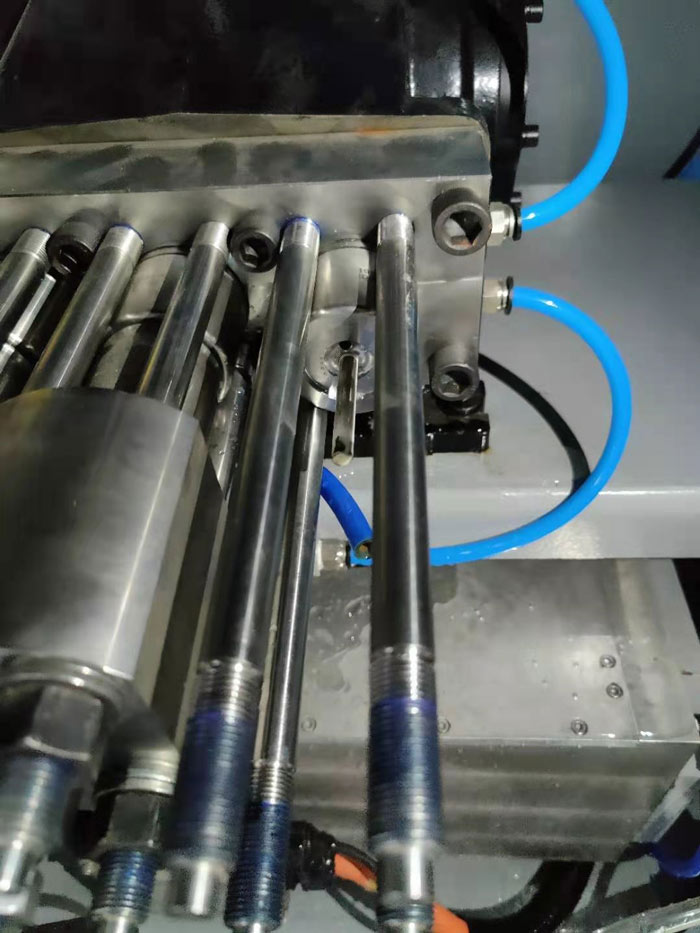
The pump has 3 main steel pipes that carry high pressure water. Shut off the water flow. Then start unscrewing the three pipes connected to the pump one at a time. First slightly unscrew all 3 tubes to have "play" and avoid deforming or damaging the tubes.
¶ How pipe threads work
On the pipe there is a large nut with a right (normal) thread, and the pipe tip is left threaded and mounts a small left threaded bushing, this bushing serves as counter closure. The tapered tip of the pipe must protrude from the bushing, this will ensure proper seal
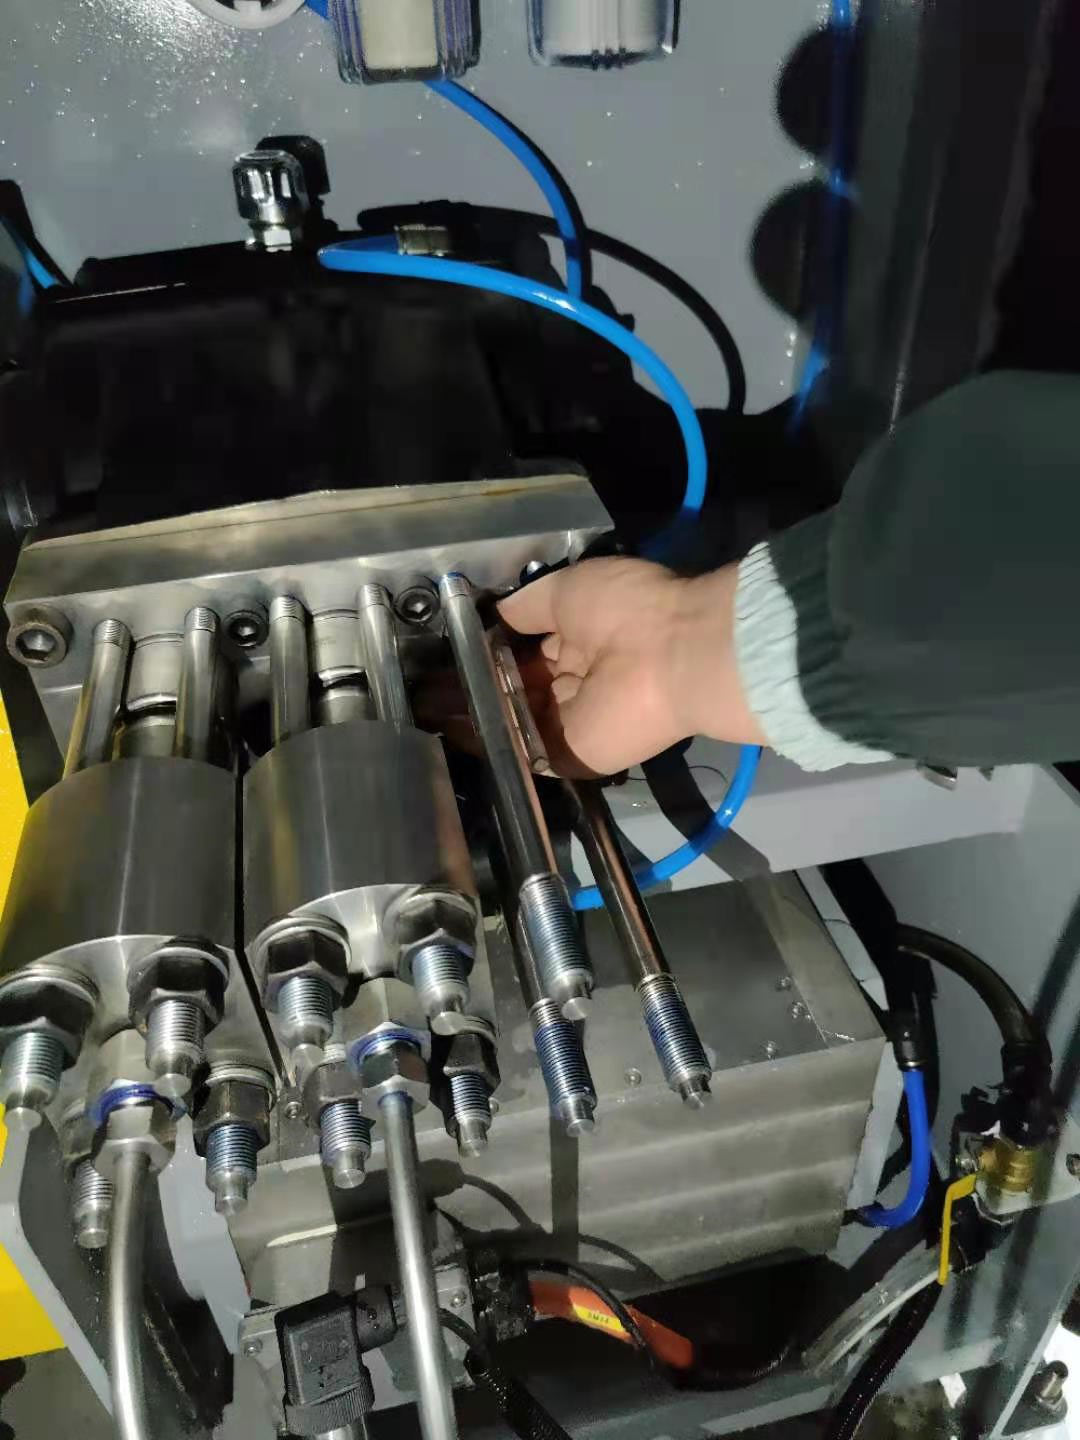
¶ Loosen up cylinder
Unscrew the 4 bolts that close the pump. Slightly unscrew one bolt, then move on to the next and slightly unscrew this one as well, and so on for all 4 bolts. This is a fundamental operation to avoid damaging / deforming the pump structure. Continue with this method until the bolts are loosened and turned by hand. DO NOT COMPLETELY LOOSEN ONE OF THE BOLTS BY ITSELF, WITHOUT LOOSENING THE OTHERS AS WELL!!

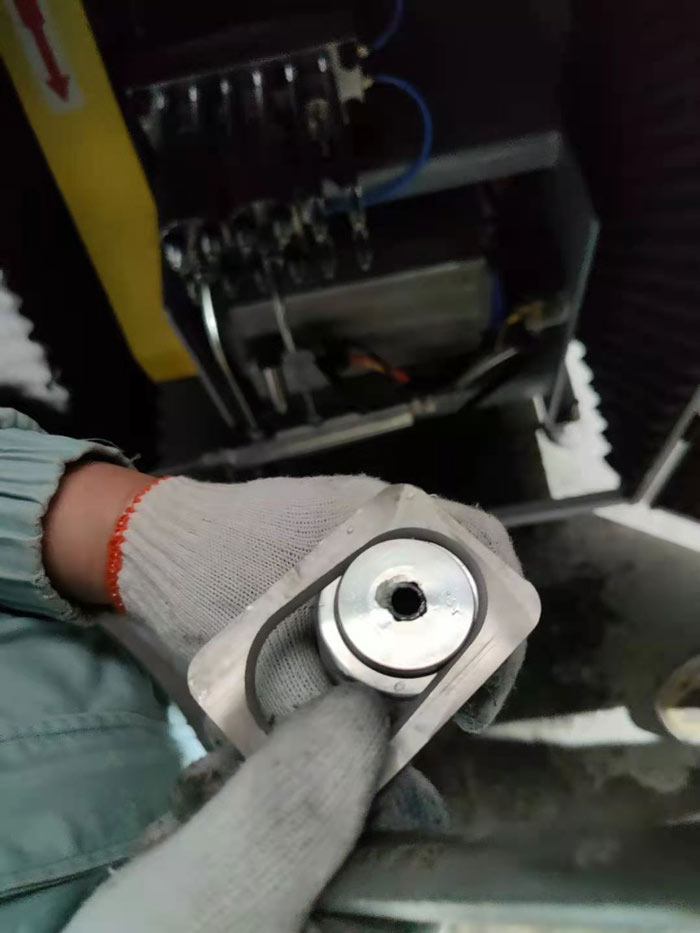
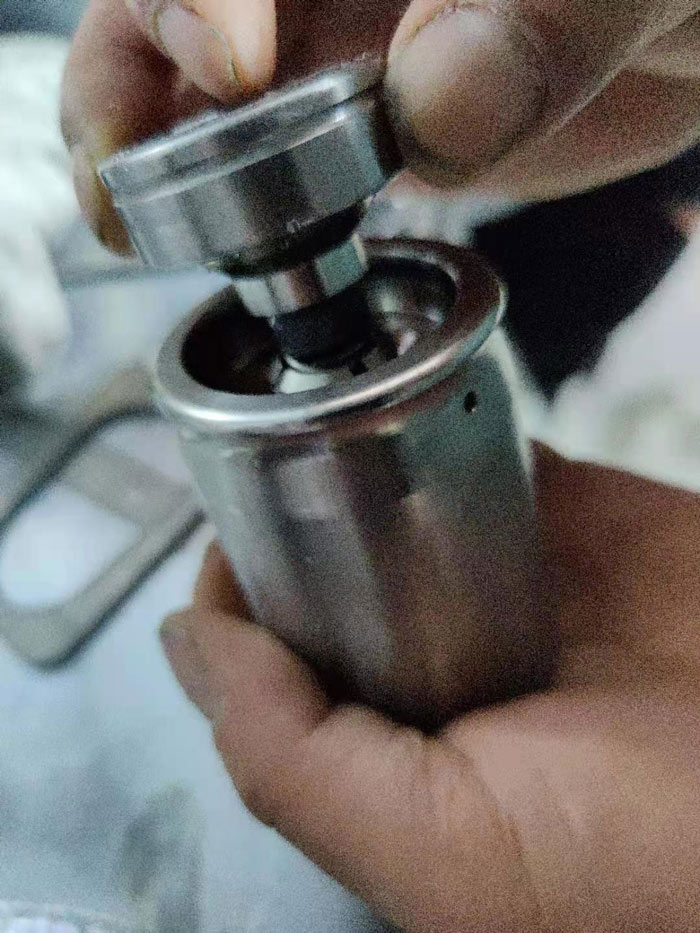
¶ Cylinder first section
Remove the first section of the pump. We find a water passage point, it could be clogged or ruined and prevent the passage of water. Gently remove it with two screwdrivers to replace it if necessary. If in good condition continue with the opening of the following parts.
¶ Cylinder second section
In the second section we find another element in which we have the passage of water. Pay close attention to removal as we could damage or break the ceramic shaft attached to the pump. Check that all internal parts are in good condition, reassemble everything (springs and final stop) as photos attached later. picture of part 2 on the operator side:
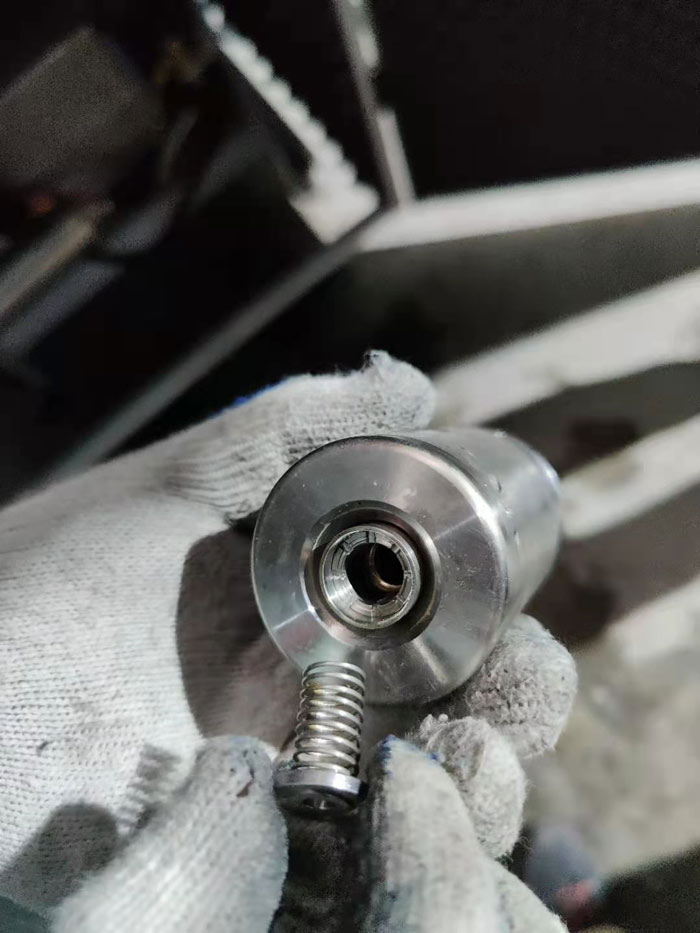
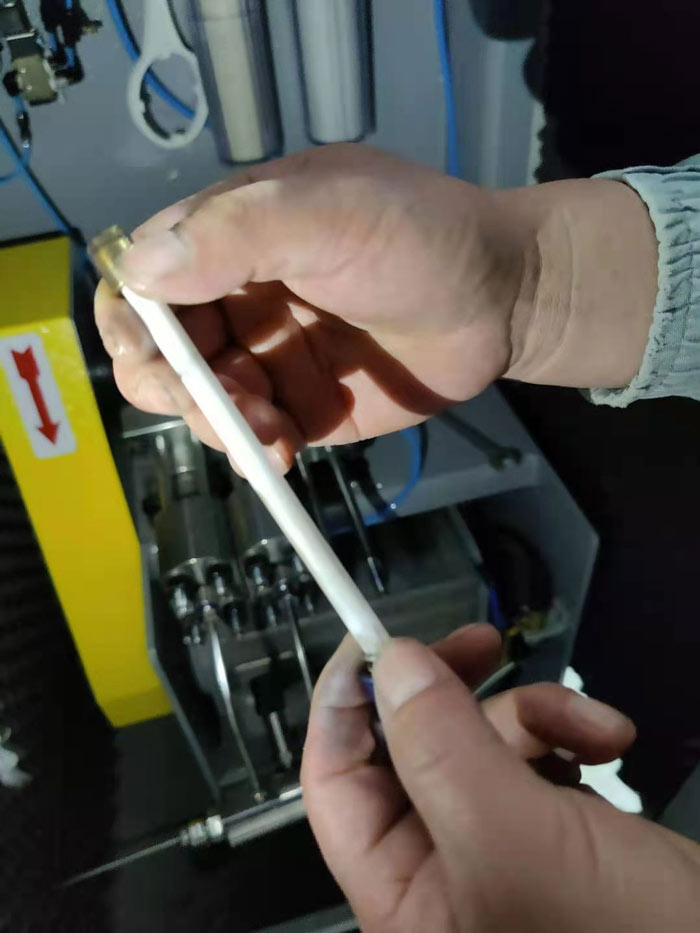
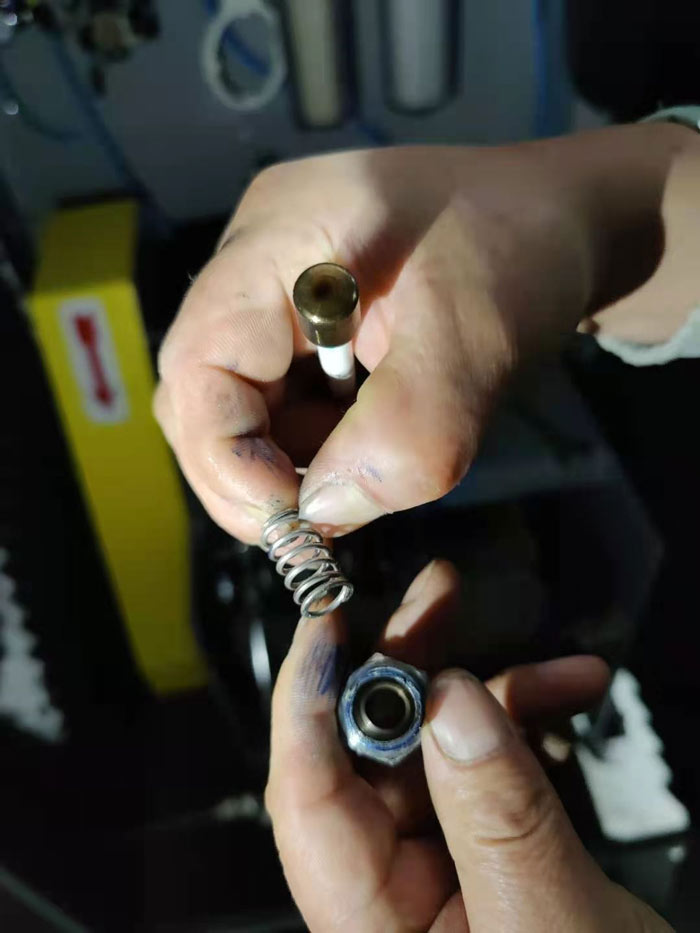
On the inside (towards the pump) we find a part that we can remove and that could be damaged due to wear. Remove with its special tool provided. There may be springs or parts internally to be replaced because; worn out. Verify that they are all in good condition, if yes, continue..
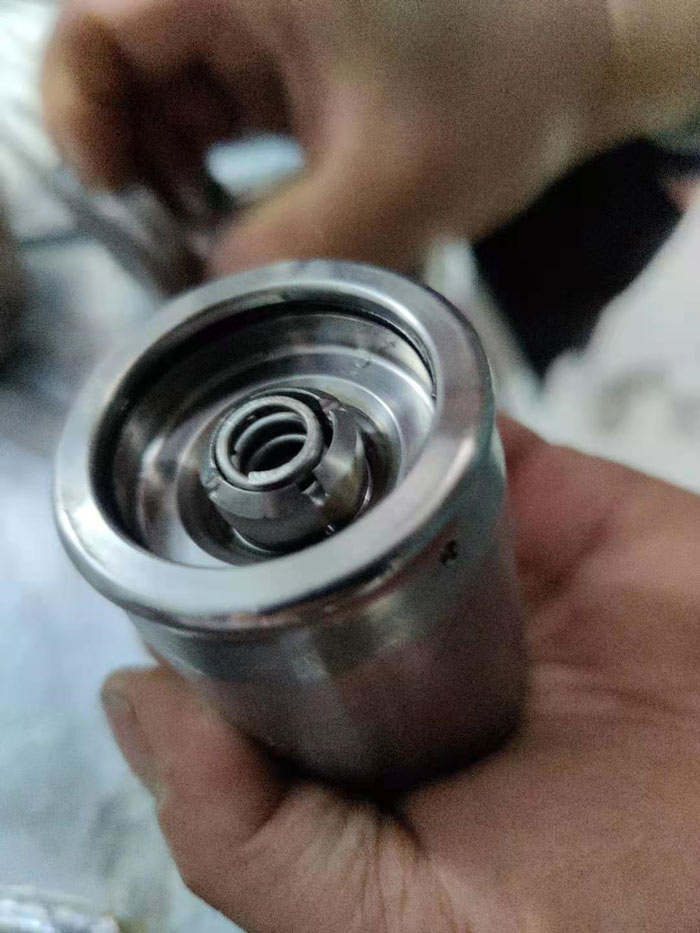
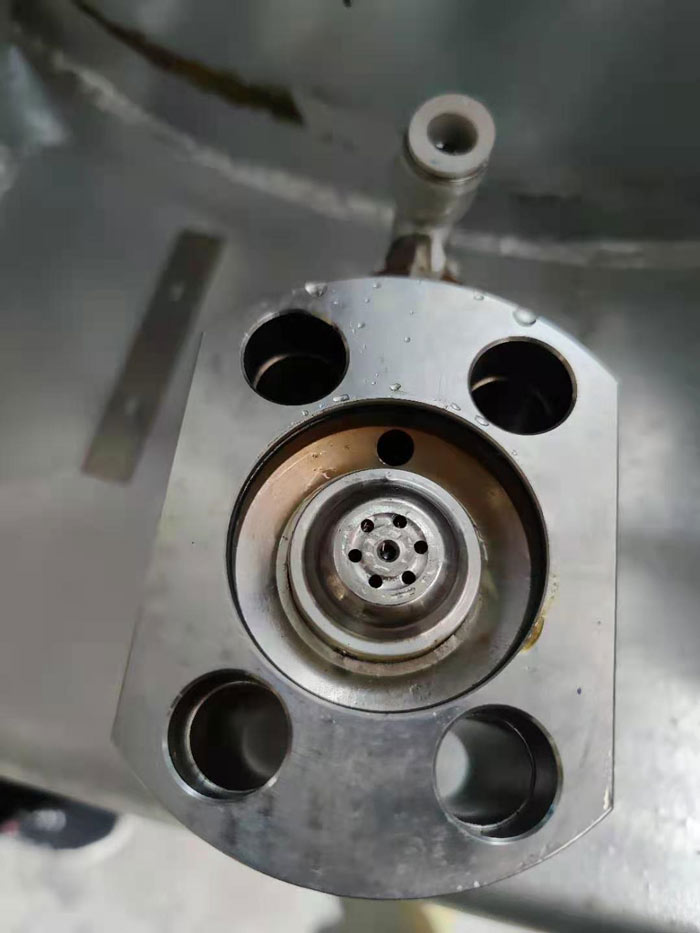
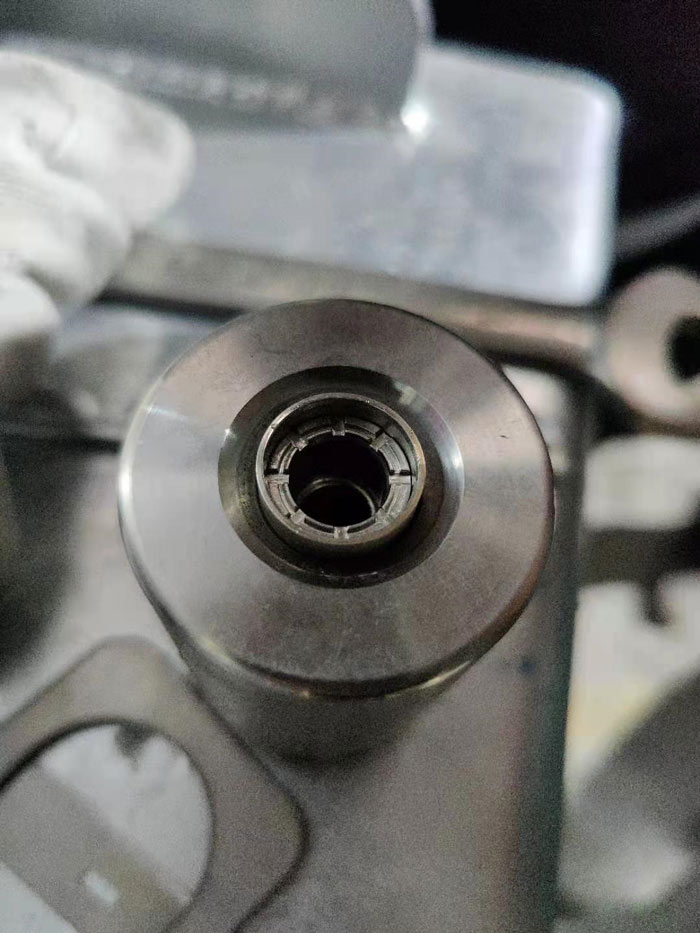
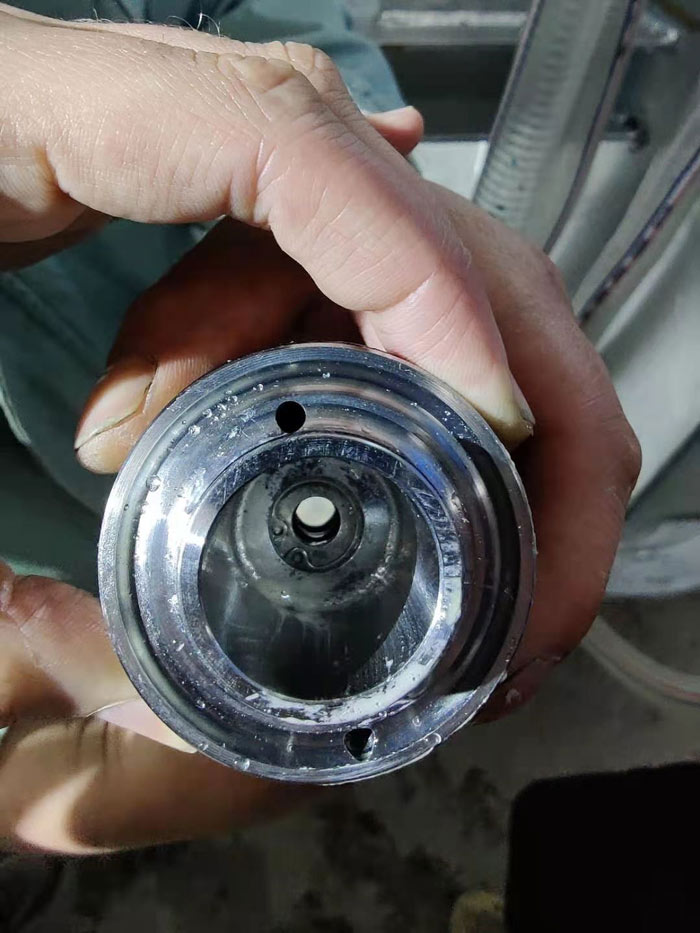
¶ Cylinder third section
Remove third section. Be very careful to avoid damaging the inner ceramic shaft. To extract the third section, use two small screwdrivers and pry the joint. Otherwise, with a simple screwdriver, gently press upwards and with the screwdriver pry the joint. The third section should not have any particular problems but pay attention to the position of the water holes. On the inside of the piece (pump side) we find 2 aligned holes. The hole that remains more outside than the edge will have to be repositioned towards the bottom, while the hole that remains more internally in the edge, that must remain towards the top..
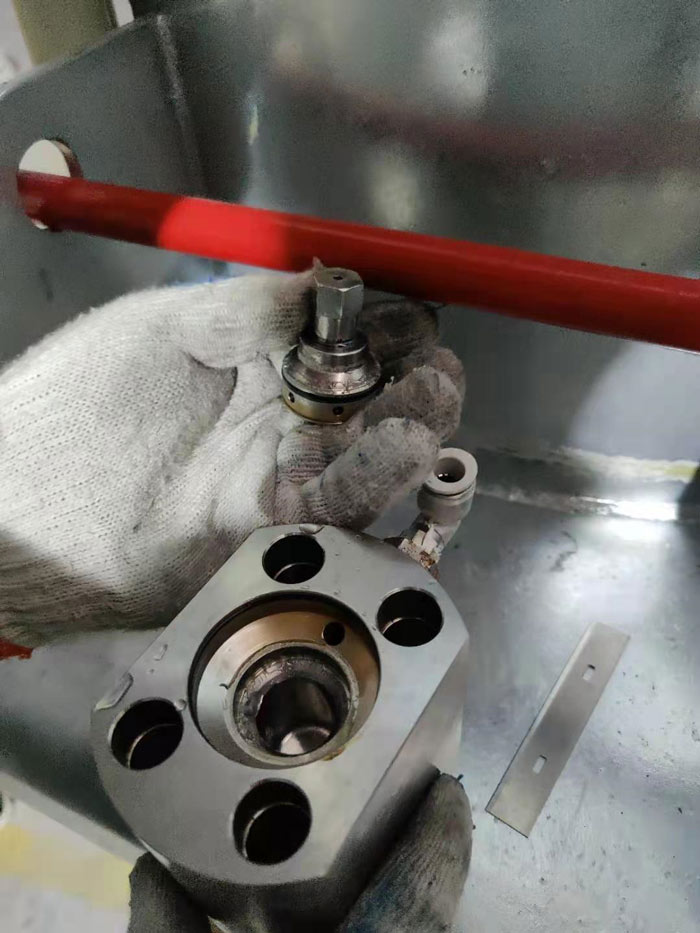
Remove the ceramic shaft, pay a lot of attention because this part is very fragile. Unscrew the shaft with the key provided. Between the bolt and the shaft there is a spring that could be damaged or ruined, if necessary, replace it. The ceramic shaft also may be broken or damaged, replace it if necessary, it’s easier to access the shaft when some of the long bolts are taken out.

¶ Reassembly
Follow the video for proper reassembly
video-waterjet-pump-reassembly
Repeat the same operations from the start for the next two cylinders heads
¶ Before starting
Press the blue knobs on the solenoid valves above the pump, to fill the system with water before starting up,
It's recommended to run the waterjet without the orifice for a few minutes at 500 bars in manual to clean possible residues in the water.